2022 is the year of fun, manageable DIY projects. When you choose something that’s engaging and not all encompassing, you’re more likely to succeed. Pick from these five, or use as inspiration for a task you’ve always wanted to tackle.
Catch, Clean & Cook a Fish
Step 1. Catch It
Have men fished since the dawn of time? Yes. Have they captured mighty underwater creatures with bare hands and spears? Yes. Should you go that route? No.
“When I go to a new place and want to target a specific species, my first inclination is always to hire a guide or charter a boat,” says Michael Cimarusti, lifelong fisherman and chef of Providence, a sustainable seafood restaurant in Los Angeles. “There’s no real substitute for local knowledge.”
Best part: You don’t have to wander the aisles of sporting goods stores fretting over what gear to buy. Most guides prefer you use their tackle because everything—rod, line, reel and bait—is fine-tuned for angling success in that locale. Your job is to toss a sandwich and a few beers in a cooler, show up and pray for good weather and photo-worthy fish.
SUP Fly Fishing for Sharks
Read article
Step 2. Clean It
Many guides and charter crews will either filet your catch for you or set you up with someone when you return to civilization.
“This is an opportunity to stand over the shoulder of an expert,” says Cimarusti. “Catching a fish and fileting a fish are very similar—it usually doesn’t work out the first go-round. Literally roll up your sleeves, get your hands dirty and figure it out. You’ll learn a lot and can practice at home with something you got at a fish market.”
Step one is to remove the scales. Step two is to eviscerate the fish and remove the gills.
“If you want to bake the fish whole, your work is done,” says Cimarusti. “If you prefer to filet it, get a sharp knife that’s appropriate to the size of the fish. You don’t want to attack a 30-pound striper with a paring knife. It’s all about repetition and practice.”
Love the Outdoors and the F-Word? You Should Try Fly-Fishing
Read article
No pitcher starts out throwing 12-6 curveballs. The goal is one simple, perfect strike. Same theory applies to cooking fish—nail the basics.
Add just enough olive oil to coat a nonstick carbon steel or cast-iron pan. If the filet is skinless, cook it over low heat and add a little butter.
“It imparts better flavor and allows you to achieve a nice color at a lower temperature,” says Cimarusti.
If the filet still has skin on one side, place it skin-side down and cook until the skin turns golden brown. At this point, the flesh of the filet will still be mostly raw, but resist the urge to flip it. Instead, pop the skillet in a 350-degree oven until it starts to turn opaque or white. Don’t be scared of a little translucency in the filet’s center.
“People will eat sushi, then order fish in another restaurant and if it’s a little translucent in the center, they’re like, ‘It’s undercooked,’” Cimarusti says. “What you want is the center of the filet to have a little translucency, but be cooked enough to flake.”
How will you know when that happens? He suggests a 99-cent metal cake tester.
“Stick it in the thickest part of the filet for 10 to 15 seconds, then touch the tester to your wrist or lower lip. If it’s warmer than your body temperature, the fish is good,” he says.
Remove the fish from the pan, let it rest on a warmed plate or rack and start your brown butter sauce: Put three tablespoons of butter in the warm pan. After it melts, it’ll turn a chestnut color and produce a nutty aroma. As soon as that happens, squeeze some lemon into the sauce and stop cooking.
“Add chopped parsley and some capers if you’re feeling crazy,” Cimarusti says. “Spoon the butter sauce over the fish and you’ve got something chefs have been serving in French bistros for centuries.”
Illustration by Joe McKendry
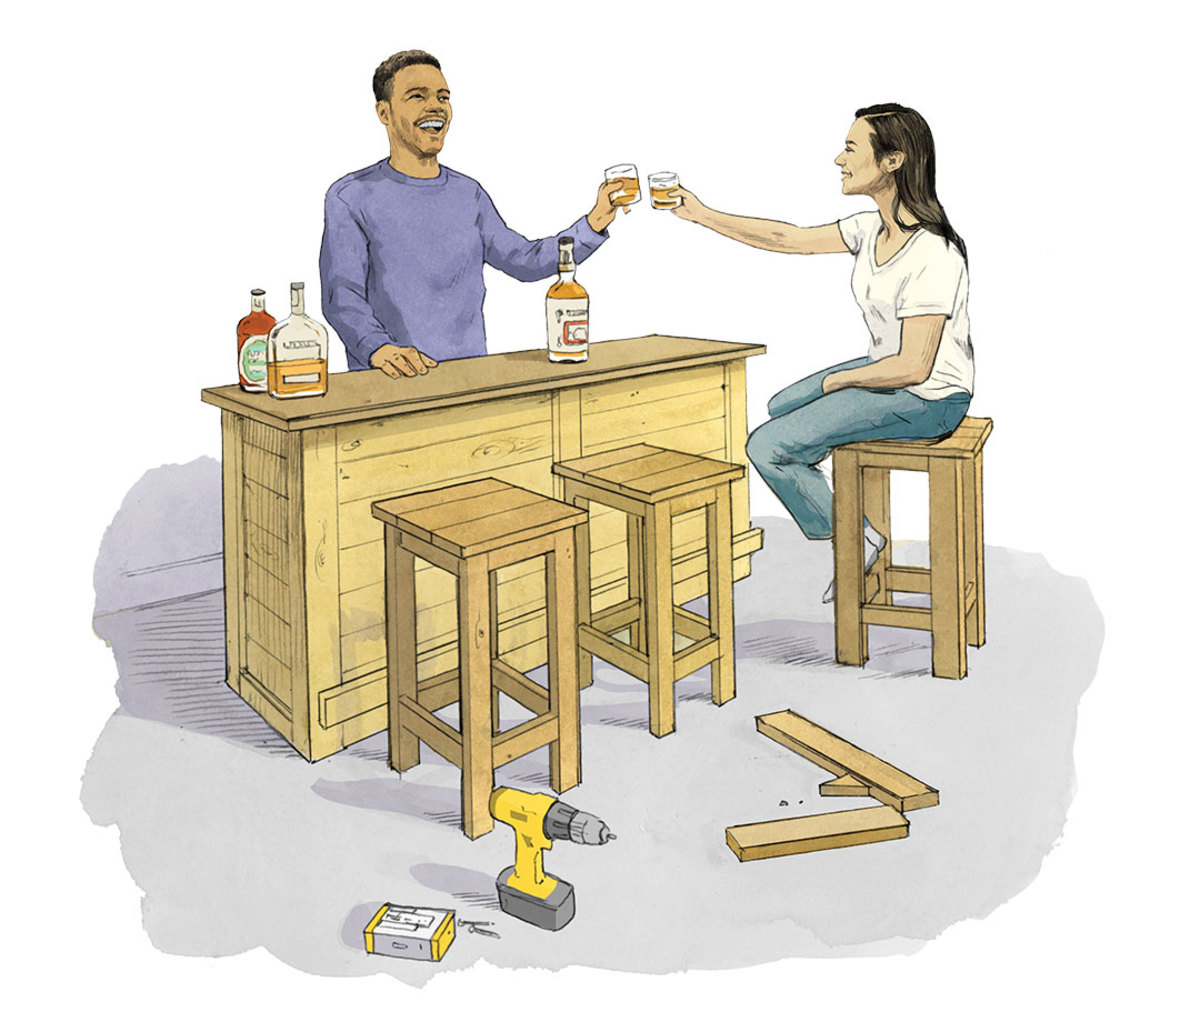
Make Your Own Bar, Stock It Properly & Learn How To Make Great Cocktails
Step 1. Make It
Sure, you could buy a bar cart from Pier 1, but where’s the glory in that? The best bars, even home bars, have a personality, and building your own will hit that mark.
You simply can snag a vintage bar off Craigslist and refinish it. Or repurpose a pallet, potting bench or bookcase. Or go big and build a bar from scratch that spans half your freaking basement.
Whichever level you choose, plan to fail your way to success.
These Cocktail Bitters Will Seriously Boost Your Home Bartending
Read article
“Failure is the best teacher,” says Barrelworx owner Gene Barnard, who fashions shelf bars and other furniture out of bourbon barrels, and therefore claims to have the best-smelling workshop in North America. “I can’t even tell you how many projects ended up in my fire pit. It’d be me in my garage at 3 a.m., cussing and hollering, until I got it right.”
A Subaru plant worker looking to make an extra $300 a week, Barnard had a little woodworking experience under his belt when he made his first piece, and relied heavily on “YouTube University” for how-to videos.
“It’s not like I knew how to make a cabinet out of a whiskey barrel when I started,” says Barnard, who’s sold more than 5,000 pieces to date.
Step 2. Stock It Properly
“When I started in this industry as a wine-and-spirits rep in 2002, the only vodka on liquor store shelves was Smirnoff,” says Jeff Pennington, co-founder of Pennington Distilling Co. in Nashville. “The sheer number of brands from then to now has grown exponentially. But it’s best to start with the basics.”
Vodka
“Vodka is your commodity spirit,” says Pennington. “It’s neutral, flavorless and will please the most people.”
It’s also the most consumed spirit in the United States by far—we collectively drink 700 million liter bottles of vodka every year. Pennington recommends one or two high-end martini vodkas, such as Kettle One, plus a crisp, easy-drinking vodka such as his own Pickers vodka that you can mix with soda, tonic or cranberry juice.
Bartenders Share the Best Top-Shelf Vodkas to Drink Straight
Read article
Whiskey
“You could stock two whiskeys, or you could stock 200,” says Pennington.
To start, get an “everyday good drinking” bourbon or Tennessee whiskey. For making Manhattans, old-fashioneds and Sazeracs, Pennington prefers rye whiskey because it “gives you more bright spice and dried fruit flavor components.”
Gin
Gin isn’t as popular as it used to be, but it’s good to have a traditional London dry and a craft gin on hand to satisfy your “grandfather or 22-year-old cousin,” says Pennington.
Tequila
“Tequila is on fire,” says Pennington, who suggests one each of the blanco, reposado and anejo styles. “I love Don Julio, but the hot one right now is Casamigos. Most people are drinking it on the rocks or with soda.”
Everything Else
Get a decent rum (no silly flavorings), some craft beer, a small selection of red and white wines and an after-dinner liqueur for people who don’t love hard liquor, but like a coffee drink or a little something to sip after a meal.
Best Mezcals of 2022 to Drink Neat and in Cocktails
Read article
Step 3. Make a Great Cocktail
“If you can make an old-fashioned, a margarita and a martini, that’s enough to please the masses,” says Pennington.
If a friend comes out of left field with a mai tai request, it’s perfectly acceptable to search out an instructional video. But the best way to learn is to take yourself out to a nice cocktail bar, order a few staples and ask the bartenders to share their knowledge. Then come home and try it yourself.
And there’s no shame in flashy garnishes: Keep a jar of almond- or blue cheese-stuffed olives in the fridge, along with cocktail mixers you just have to shake and pour.
Illustration by Joe McKendry
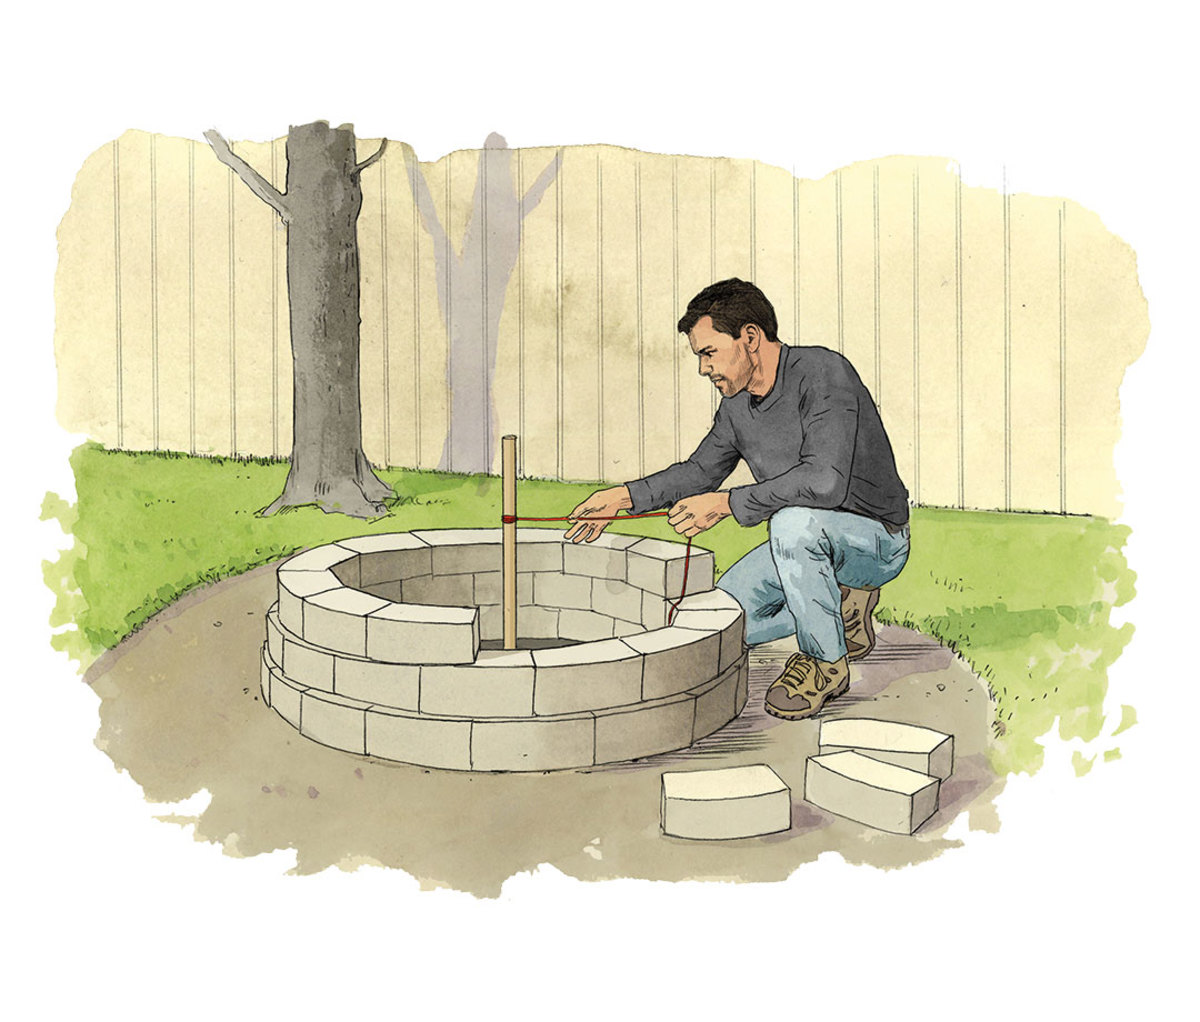
Build Your Own Fire Pit
For your first time out, the best fire pit starts with a kit.
“You don’t have to know what you’re doing,” says Chicago-based Scott Vargo, who bought a $250 model from Lowe’s to extend outdoor time at his weekend retreat in Michigan. Together with his wife, Vargo runs Yellow Brick Home, a blog and social channel focused on DIY home design and renovation. He has the skills for a more complicated pit, but wanted to go as simple as possible.
“If you can use a shovel and stack bricks, you can build a fire pit from a kit,” he says. “It comes with instructions and a steel ring that dictates the size. We chose the color and style of the blocks that make up the fire pit from six different finishes and it arrived on a truck a few weeks later.”
Campfire Cooking 101: How to Make Amazing Meals Over an Open Fire
Read article
Vargo finished his project in an afternoon, with his then-infant daughter strapped to his chest. First, he created a gravel ring around the fire pit to avoid having to mow under surrounding chairs, and for the visual appeal.
“We dug up the sod in a perfect circle that we traced out with spray paint and a string line,” he says. “It took about 60 bags of gravel for two inches of depth.”
Before you start stacking bricks, check with your local codes office or fire department to see how far away your pit should be placed from a fence or other structure.
Vargo also found that a fire-rated, caulk-like adhesive came in handy, and, over the long haul, has withstood higher heat than standard glues.
Light Up a Smoke-Free Campfire With These Propane Fire Pits
Read article
After a few years of regular cleaning and maintenance, Vargo upped his game a bit. “I found a company that makes custom vents the same size and shape as our bricks,” he says. “I removed three bricks and added vents that allow for better air circulation, create less smoke and help the fire burn hotter and cleaner.”
Once you’ve built your fire pit, there’s one more step between you and nightly s’mores.
“There’s an art to building a fire,” says Vargo. “I prefer a pyramid-shaped fire because I like to build it, light it once and forget it. First, stack tinder sticks and twigs, move on to chopped-up sections of logs, then finally add the logs themselves. If you’re going to go to the effort to have a nice fire pit, you want the fire to look nice, too.”
Illustration by Joe McKendry
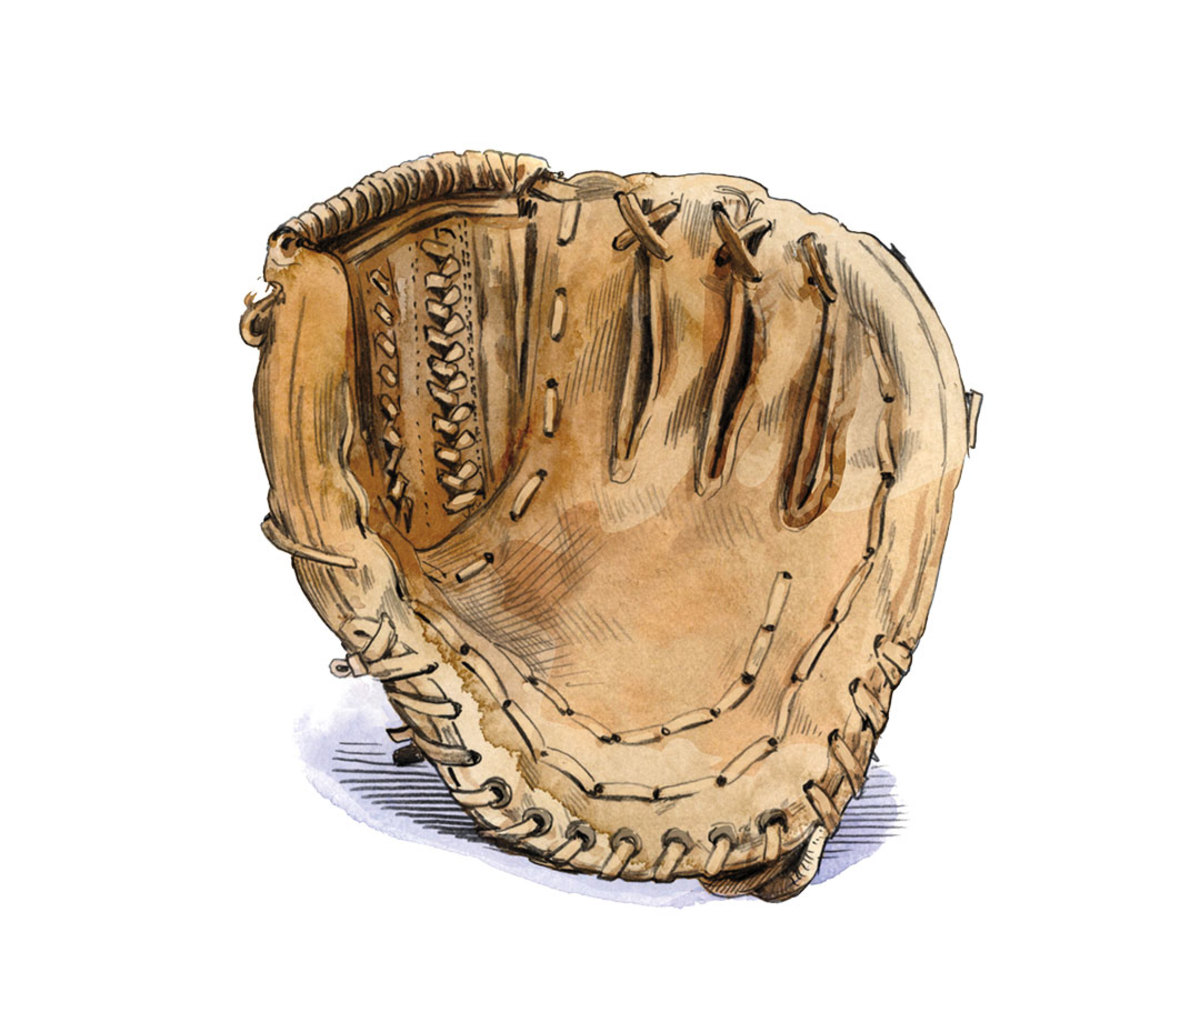
Restore Something Old & Cool
It’s been sitting in the back of your attic or garage for decades, beat-up and broken down, but you can’t bear to toss it out. Because it’s a symbol of your youth, or a cherished memento of someone you love.
Restoring something with emotional weight is a great way to honor its previous owner, but be honest about your limits. Your great-aunt’s VW van might be better off with professionals, but you can’t screw up your grandfather’s baseball glove.
Upgrade Your Computer With These New Years Deals From CyberLink
Read article
“It’s almost impossible to mess up a glove and not be able to put it back together,” says Chris Petroff, founder and lead glove technician (“which is kind of a joke because it’s just me and my dad”) of The Glove Lab in Phoenix. “I always refer people to YouTube for tips and tricks, and I have a handful of how-to videos on our Instagram TV. Worst-case scenario, there’s always a local person or someone like me to send it to.”
Your vintage glove likely needs to be relaced before you head out to have a catch. This might be slightly more difficult than you think. Here are Petroff ’s five simple steps:
Step 1. Photograph the glove so you remember how to put it back together
“Every glove is different and has a different pattern,” Petroff says. “Take 30 pictures of the glove at every stage to document the process.”
Step 2. Draw a diagram of how you pulled the laces out.
“That’s the call I get most often on a Thursday night before a Friday game,” he says. “‘Oh no, I took out the laces and have no idea how to put them back.’”
Step 3. Remove the laces.
Cut them with a wire cutter or pair of sharp shears.
Step 4. Clean and condition the glove.
“The leather of a glove is like your skin if you don’t shower,” Petroff says. “The amount of dirt buildup makes the leather stiff, dry and hard. You want it to be soft, so when the ball hits the glove, the glove collapses around it instead of popping out.”
Get a quality leather or glove cleaner, a good brush, some warm water and a clean towel. Using the wet brush, apply the cleaner to the leather and wipe with a towel. Do this all over the glove. Then use a quality pH-neutral leather conditioner like Ball Player’s Balm.
Step 5. Relace the glove with your handy diagram and photos.
“I tell people all the time—crack a beer and take your time,” says Petroff, who receives five to 10 gloves a day from pros and regular people. “It’s not going to get done in an hour or three hours. Do it over the course of days so you enjoy the process and the time you’re spending with the glove.”
Mike Trout's 2021 Season Will Go Down in History
Read article
Illustration by Joe McKendry
Visit Your Distant Ancestor’s Home
This is more than just a trip—it’s time travel.
A heritage trip is about your ancestors, where they lived, how they lived and your connection to it all.
Start with science: Take a DNA test through a service like 23andMe or Ancestry, and keep an open mind and heart. The results could come back exactly as expected, or they could go sideways.
Decode Your DNA And Donate To Those In Need With Nebula Genomics
Read article
“It’s pretty common to find out something surprising or disturbing,” says Kyle J. Betit, senior genealogist and travel program operations manager at Ancestry, who learned about a long-lost aunt late in life. “You might find relatives you don’t know about, or that someone isn’t related in the way you thought they were.”
Once you get your results, ask yourself what’s going to scratch the itch to connect with past generations. If it’s enough have a Guinness at a pub in County Cork after learning you’re 85 percent Irish, buy a flight and brush up your brogue. But if you want to stand at the font where your great-great-grandfather was baptized, consult further with a genealogist.
“It can be easy to stick at one level and focus on the pie chart,” Betit says. “We spend a lot of time with travelers helping them interpret their DNA results. There’s a lot more info there if you know how to use it, and the more specific you can be about the place you’re visiting, the more meaningful the trip will be.”
The beauty of heritage travel is that it’s not a cookie-cutter process, but many of the planning pitfalls are the same.
Curious About Your Dog's Traits and Health? Get This Dog DNA Test Right Now
Read article
Don’t rush it. A well-rounded heritage trip can be a deeply layered process that requires introspection and investigation. “Don’t arrive in the country and have regrets about not getting to see what you wanted,” Betit says. “Planning takes time. Research takes time.”
Google the hell out of it. Yes, there are records you can see only in village archives, but there’s plenty you can figure out online, in advance. This includes any local holidays that might shut down important places and throw off your trip. The more work you do on the front end, the less you have to figure out on the fly in a foreign country.
Navigate the language barrier. Once you get where you’re going, will you be able to communicate with people? And does that mean you’ll be able to read the records? “Poland was divided into three empires during the 19th century,” says Betit. “Most records are kept in Russian, German or Latin, but not Polish.”
Nail down local transportation. This can be a big logistical piece of the trip, especially if your ancestors lived in a small burg far from a train stop.
Make connections in advance. Whenever possible, if you plan to visit a town hall or church, call ahead and chat someone up. “That way you’re not completely unknown to them when you arrive,” Betit says. “In Europe, one priest may cover several churches and it can be hit or miss when he’s around.”
Don’t surprise your cousins. Advance contact also applies to distant relations still in the old country: Don’t just show up and expect them to roll out the welcome wagon.
-----------------------------
By: Danny Bonvissuto Title: Fun, Manageable DIY Projects to Tackle in a Weekend Sourced From: www.mensjournal.com/health-fitness/fun-manageable-diy-projects/ Published Date: Tue, 22 Mar 2022 19:29:50 +0000
.png)